Setup and Preparation
Charging the Device:
- Ensure the motor handpiece is fully charged using the provided power adapter. Connect the adapter to a suitable power source (100V-240V 50Hz/60Hz 0.4A Max) and plug the USB wire into the handpiece.
Assembling the Contra Angle:
- Align any locating pin of the contra angle with the positioning slot on the motor handpiece.
- Push the contra angle horizontally until the four locating pins are securely in place. A “click” sound indicates proper installation.
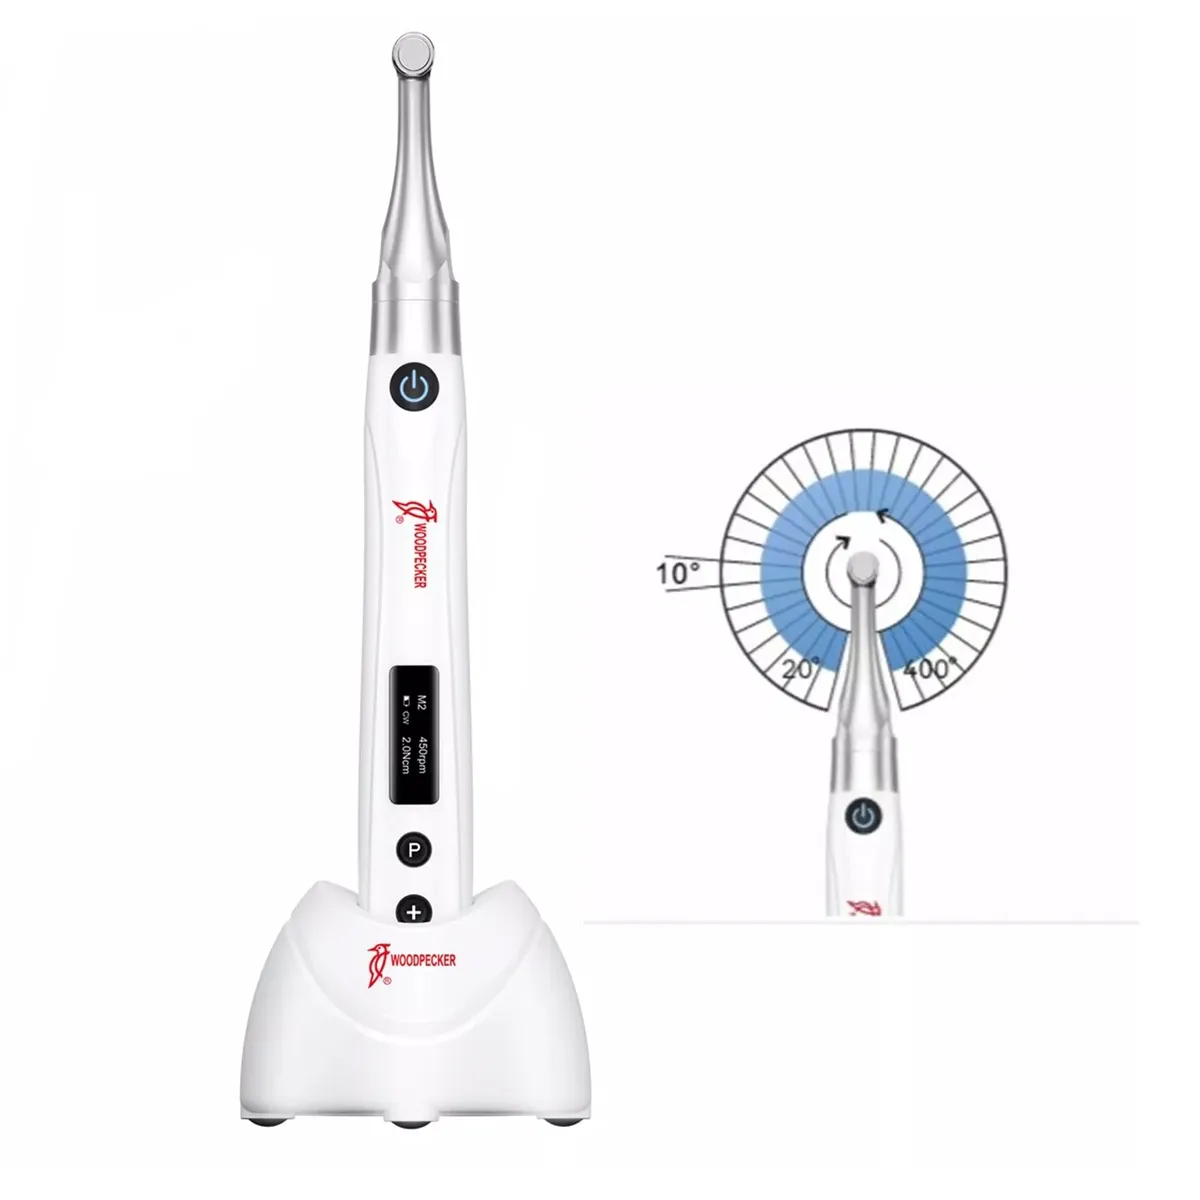
- The contra angle can be rotated 360° to ensure the OLED display is always visible.
Installing the File:
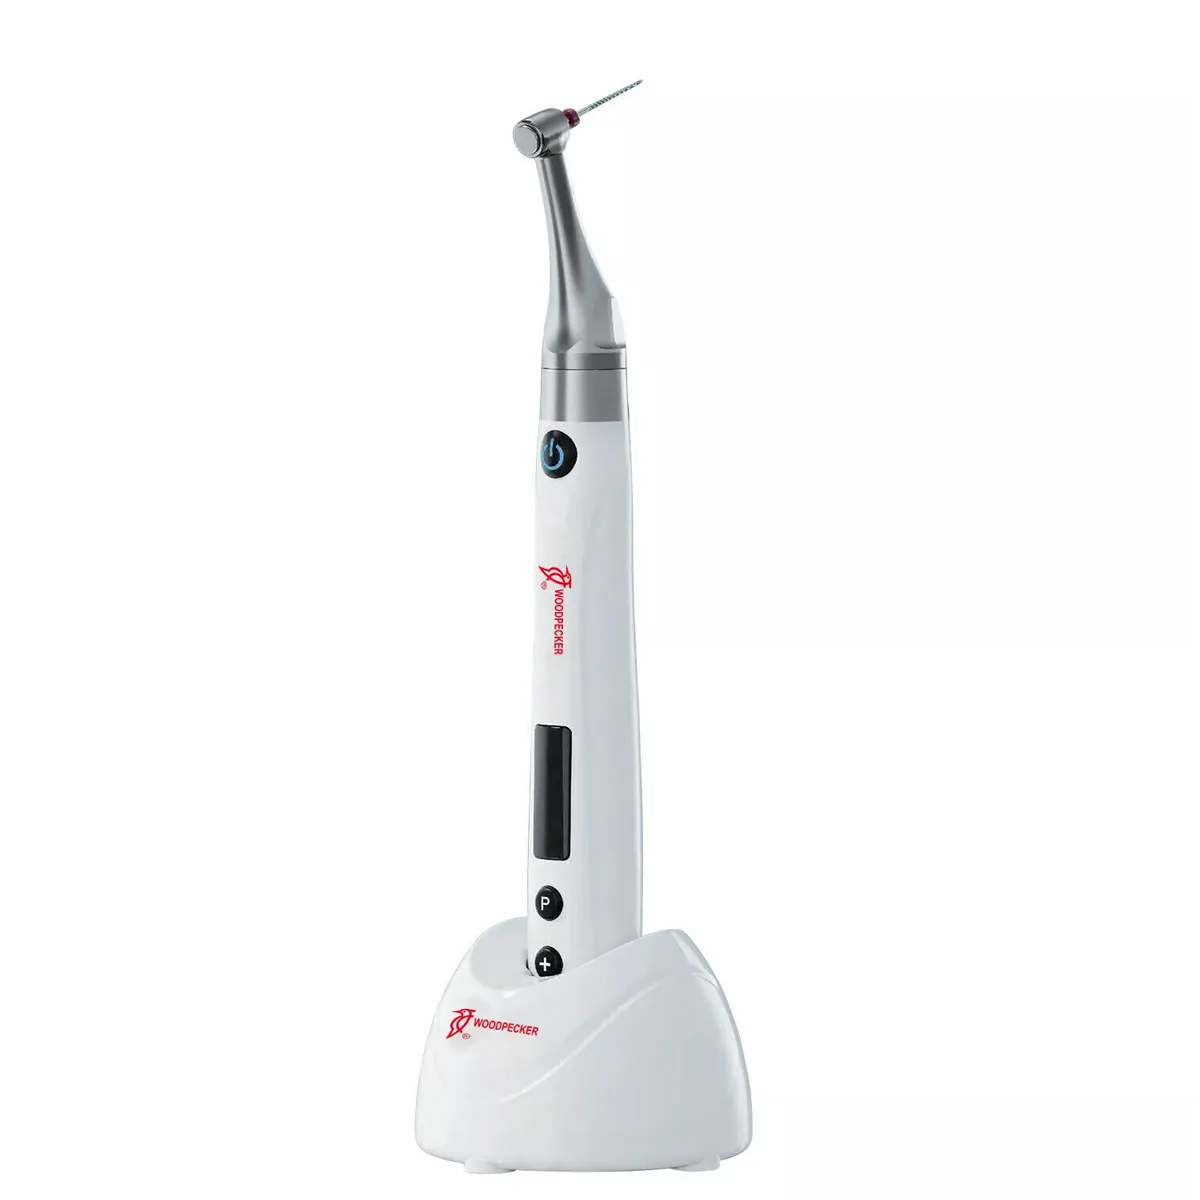
- Before starting the device, plug the file into the hole of the contra angle head.
- Hold down the push button on the contra angle and insert the file. Rotate the file back and forth until it aligns with the interior latch groove and slips into place.
- Release the button to lock the file into the contra angle.
Operation
Turning On the Device:
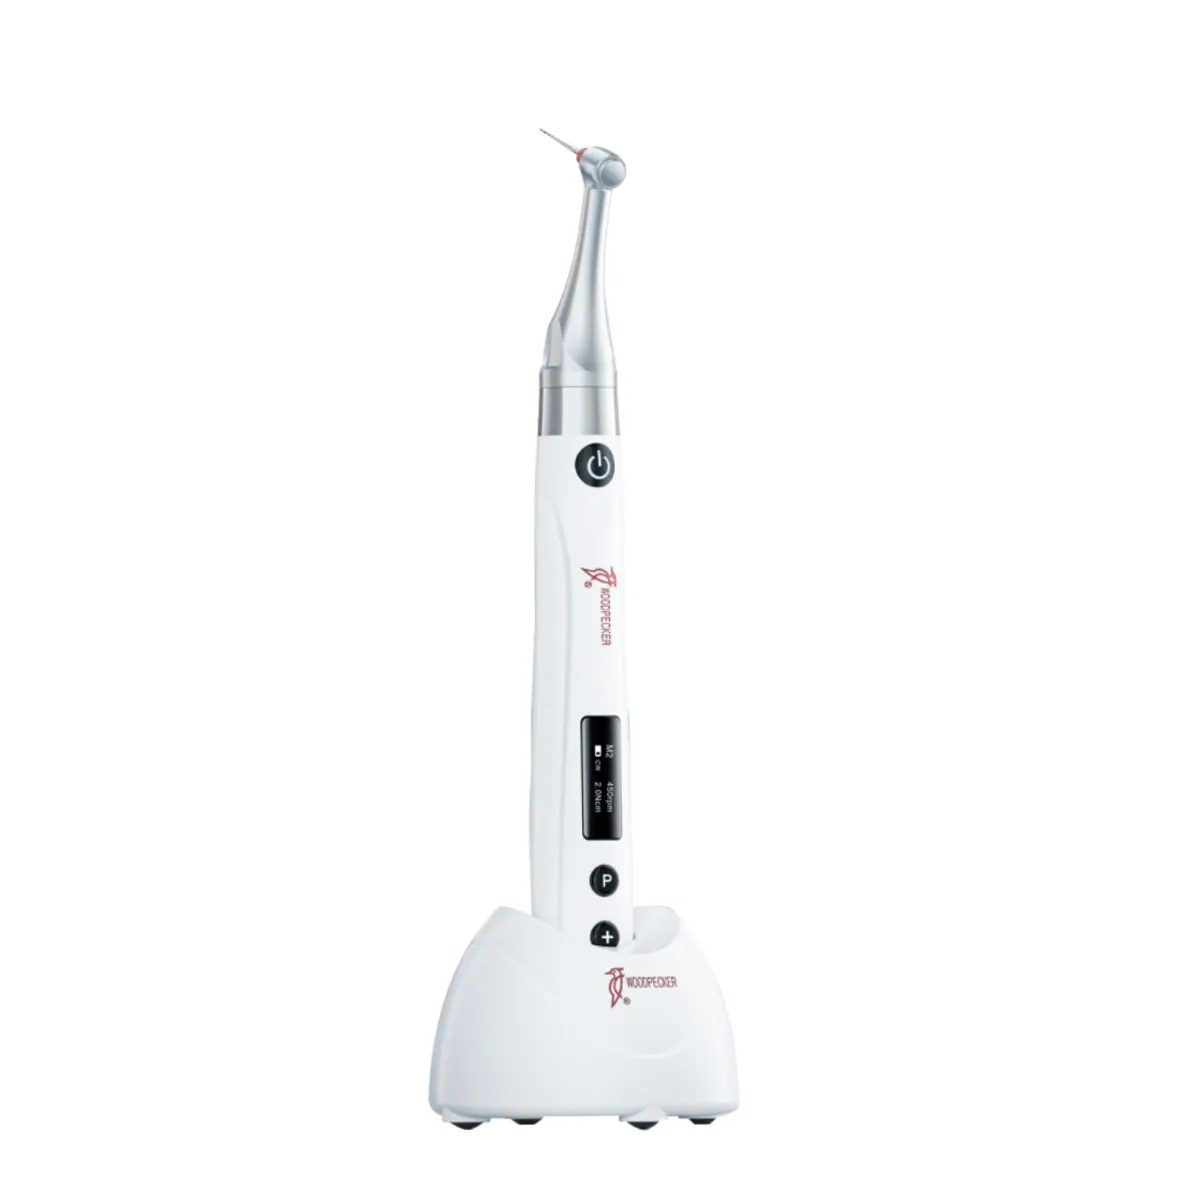
- Press the Main button to turn on the motor handpiece. The device will enter Standby mode.
- Press the Main button again to switch to Working mode.
Selecting the Operation Mode:
- Ensure the correct operation mode is selected (CW, CCW, REC, or ATR) by pressing the Setting button “P” during Standby mode.
- Use the Adjusting buttons “+”/“-” to navigate through and select the desired mode.
Adjusting Parameters:
- Speed: Adjust the speed from 100 r/min to 1500 r/min using the Adjusting buttons. In ATR and REC modes, the speed range is 100 r/min to 500 r/min.
- Torque: Set the torque between 0.4N·cm to 4.2N·cm using the Adjusting buttons. In ATR mode, the trigger torque ranges from 0.4N·cm to 4.0N·cm. In REC mode, it ranges from 2.0N·cm to 4.2N·cm.
- Forward and Reverse Angles: Adjust the forward and reverse angles every 10 degrees as needed, ensuring effective cutting angles for the chosen files.
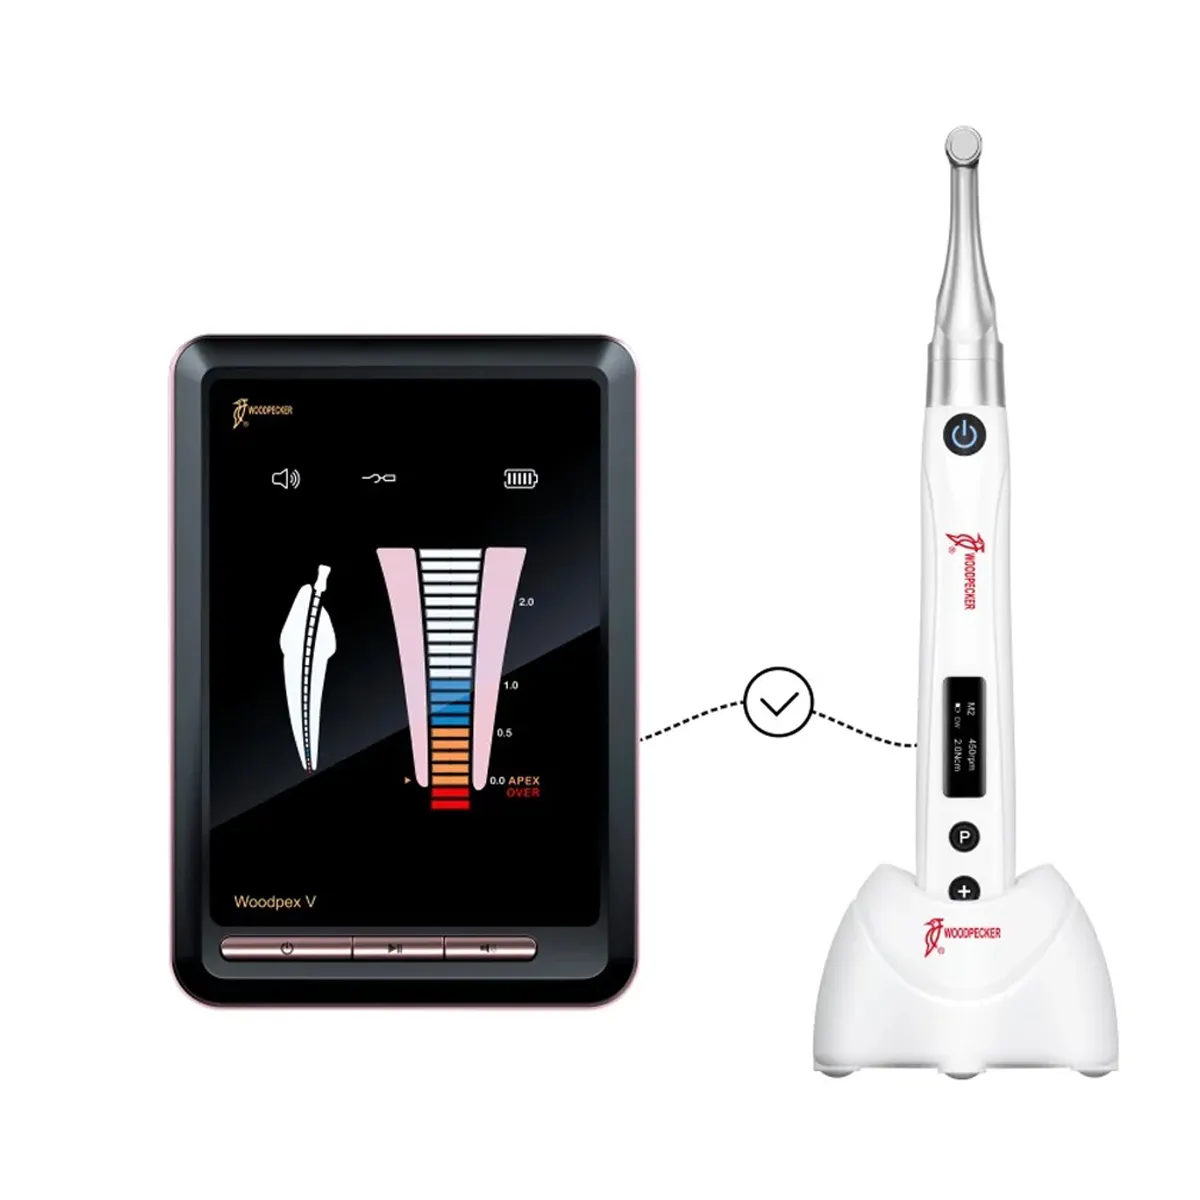
Using the Automatic Functions:
- If connected to a matched Apex locator, configure the automatic functions such as Apical Action, Auto Start, Auto Stop, and Apical Slow Down as required.
Starting and Stopping the Motor:
- To start the motor, press the Main button. The file will begin to rotate according to the set parameters.
- To stop the motor, press the Main button again. The device will revert to Standby mode.
Post-Use Procedures
Turning Off the Device:
- Hold down the Setting button “P” and then press the Main button to turn off the motor handpiece.
Removing the File and Contra Angle:
- To remove the file, hold down the push button on the contra angle and gently pull out the file.
- To remove the contra angle, pull it out horizontally when the motor handpiece is not running.
Cleaning and Sterilizing:
- Clean and disinfect the contra angle with a neutral pH disinfectant after each use.
- Lubricate the contra angle with specific cleaning oil.
- Sterilize the contra angle under high temperature and pressure (134°C, 2.0-2.3 bar).
Maintenance
- Regularly check the device for any signs of wear or damage.
- Perform a connection test before each use by touching the lip hook with the file in the contra angle. Ensure all bars on the meter light up and the motor reverses continuously.


Reviews
There are no reviews yet.